
TABLE OF CONTENTS
- Step 1: Navigate to Memberships
- Step 2: Enter Contract Details
- Step 3: Enable Class Benefits
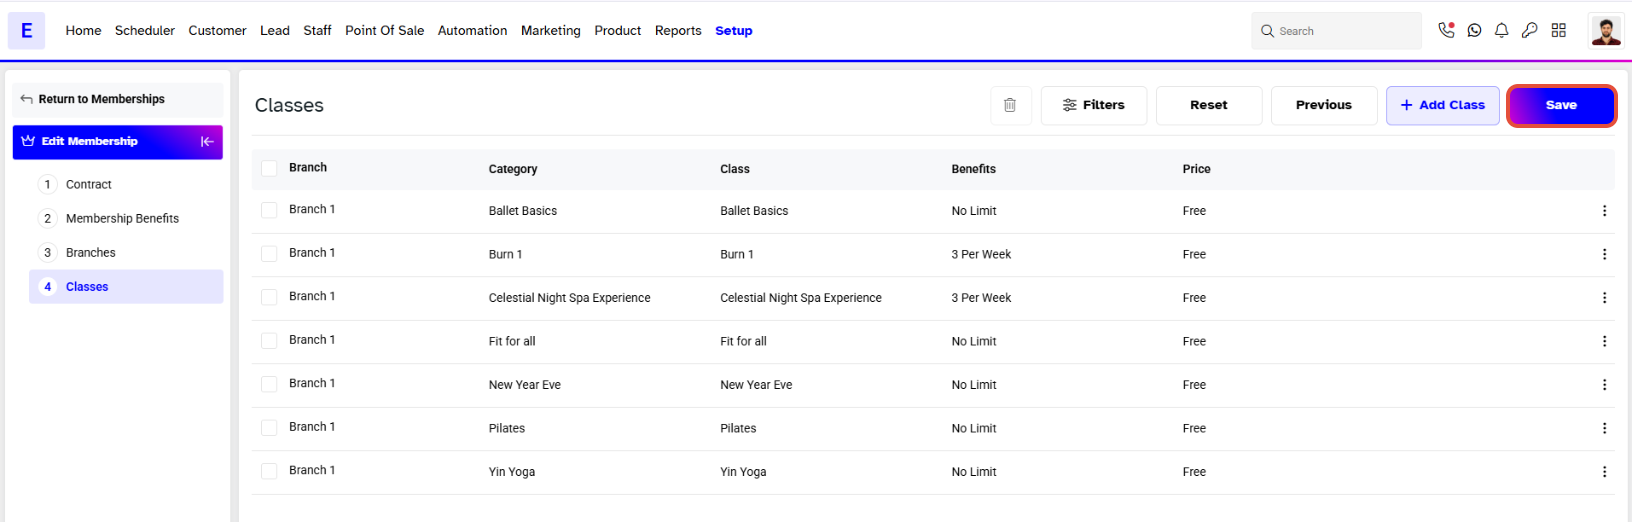
- Step 4: Add Classes to the Membership
- Step 5: Save the Membership
Overview
This guide explains how to create a Class-Based Membership in Core. It covers every step, from entering contract details and enabling class benefits to assigning specific classes and setting usage limits. By following this guide, merchants can successfully configure memberships that include access to classes.
Step 1: Navigate to Memberships
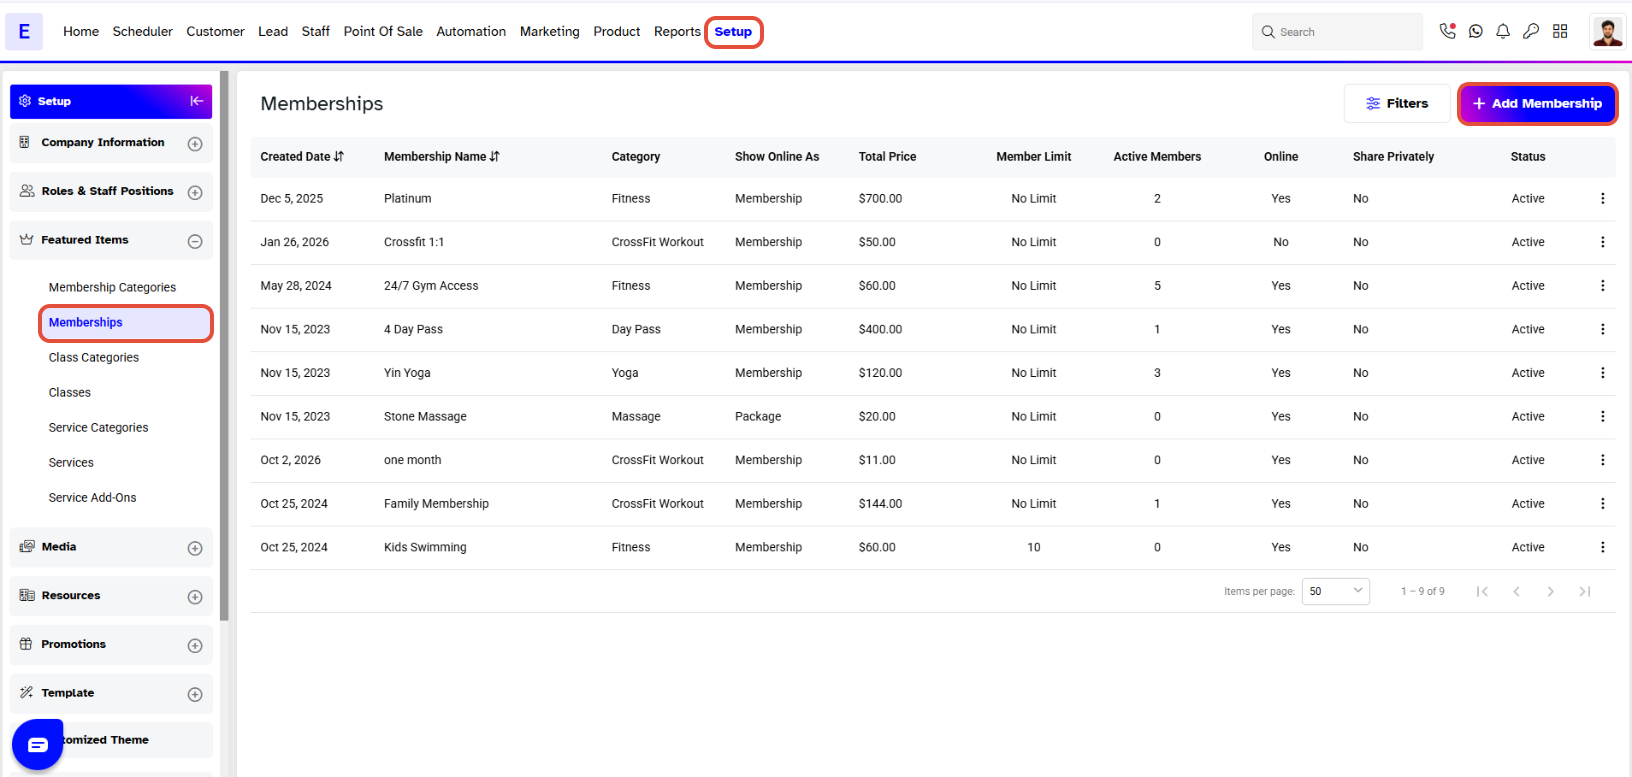
- Go to the Setup module in Core.
- Click on the Memberships tab.
- Click on the Add Membership tab.
Step 2: Enter Contract Details
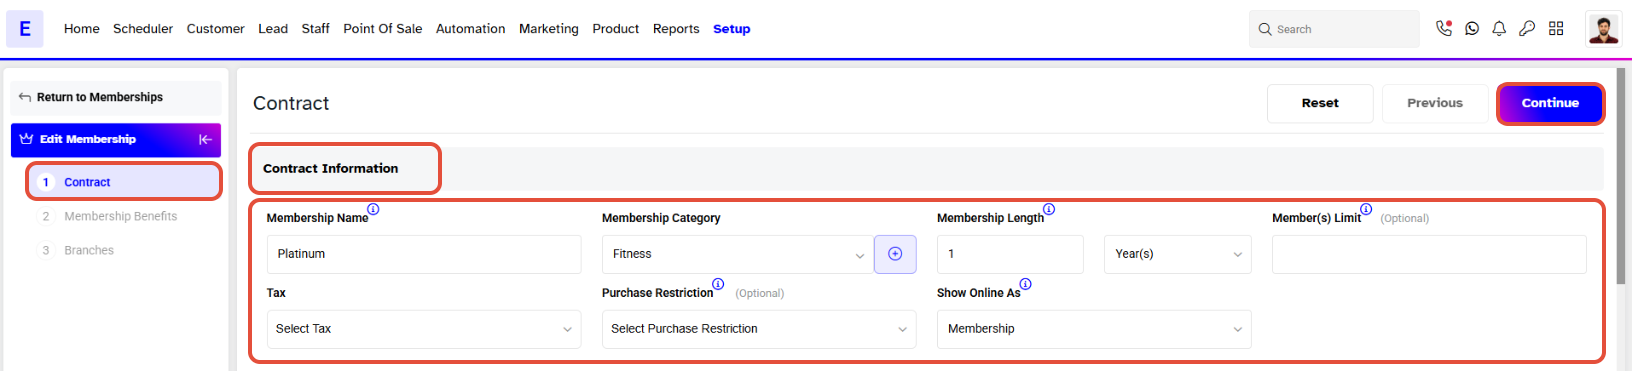
- Fill in all mandatory information regarding the membership in the Membership Contract section.
- Click the Continue button to proceed to the Membership Benefits.
Step 3: Enable Class Benefits
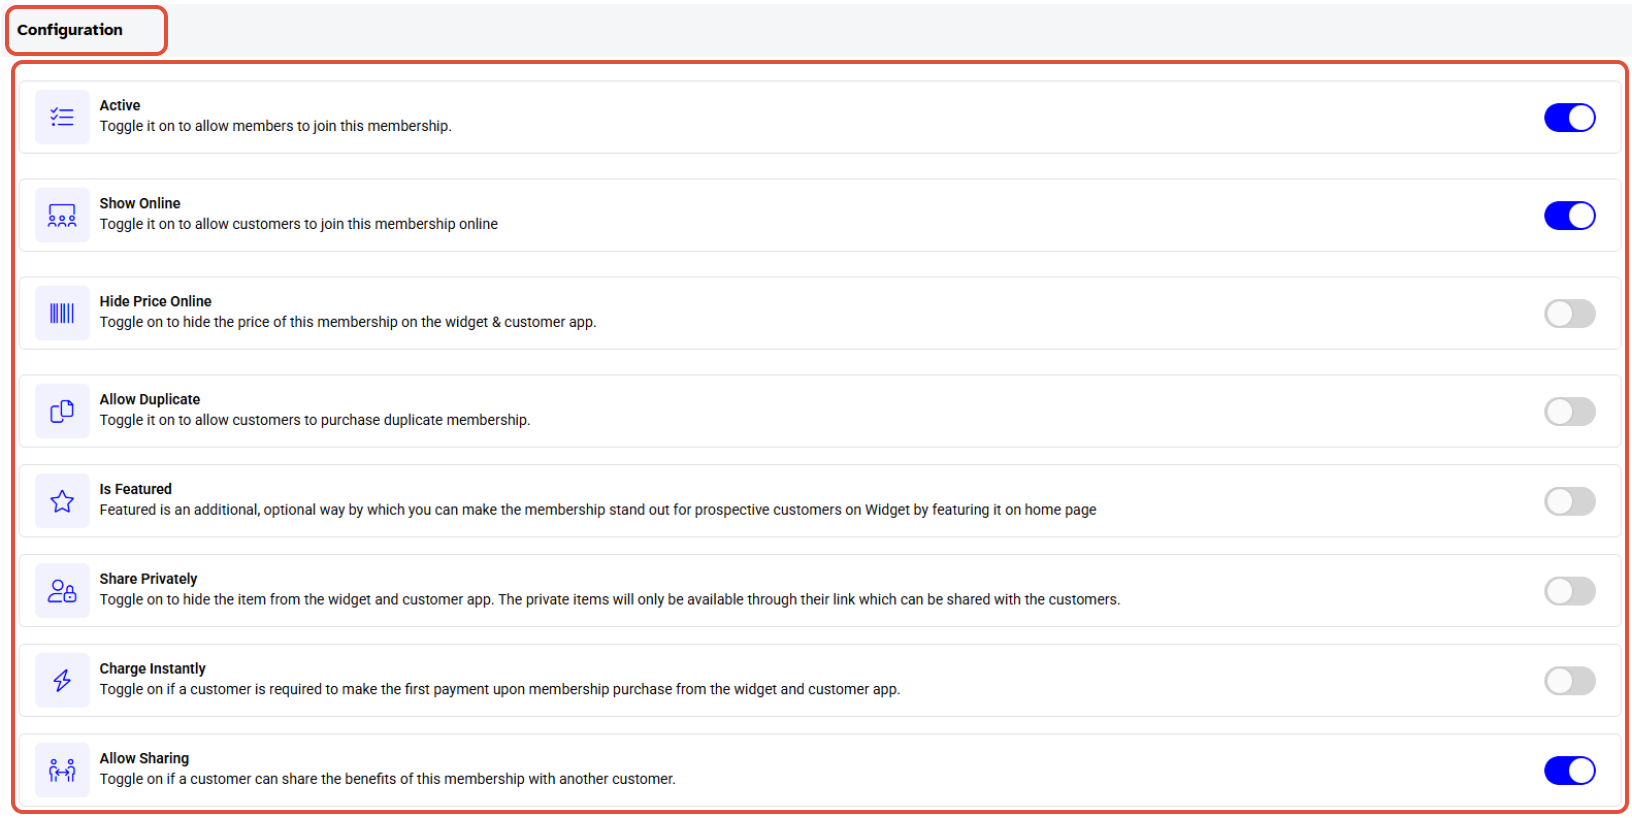
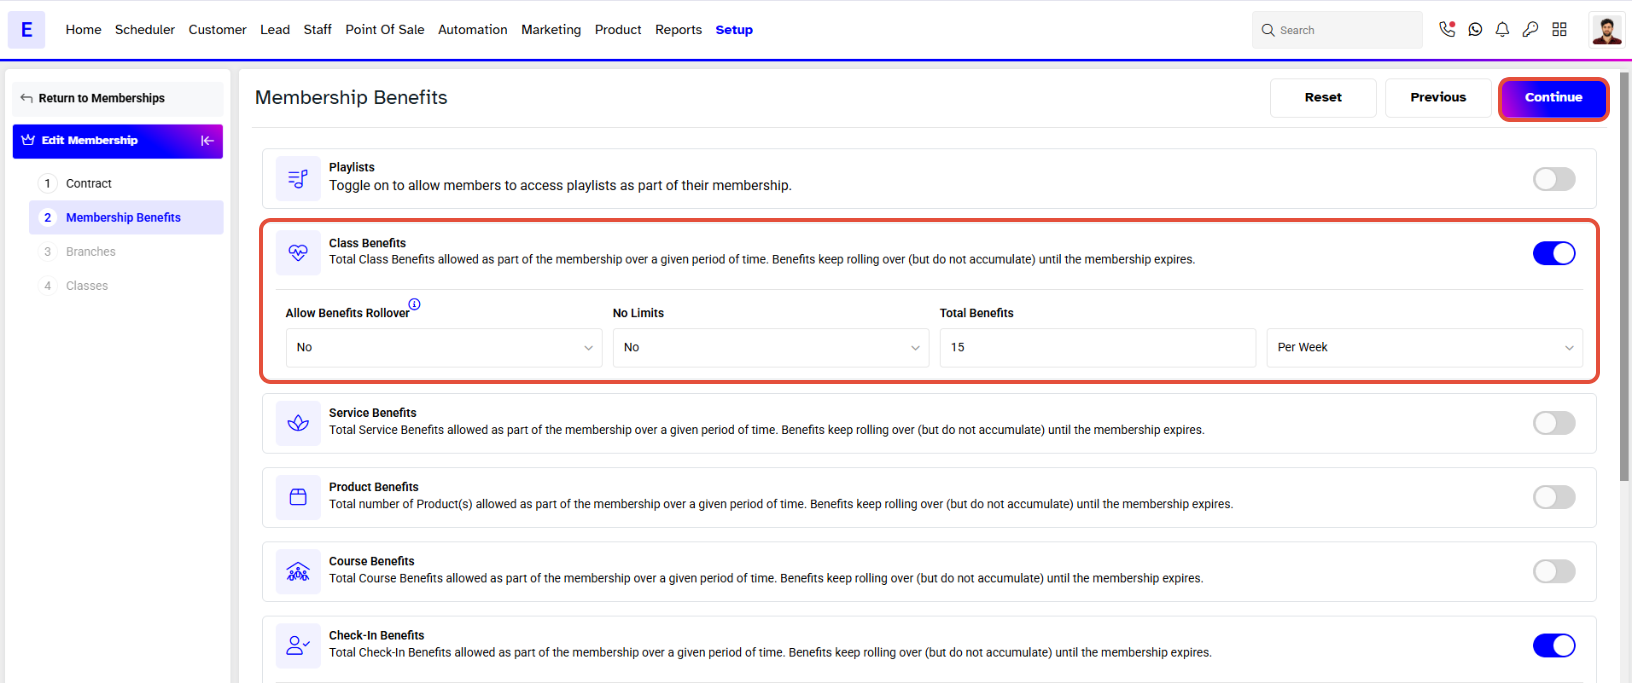
- Toggle the Class Benefits button to ON to activate the Class-Based Membership features.
- Once enabled, the Classes section label will appear on the section label bar.
- Click the Continue button.
Step 4: Add Classes to the Membership
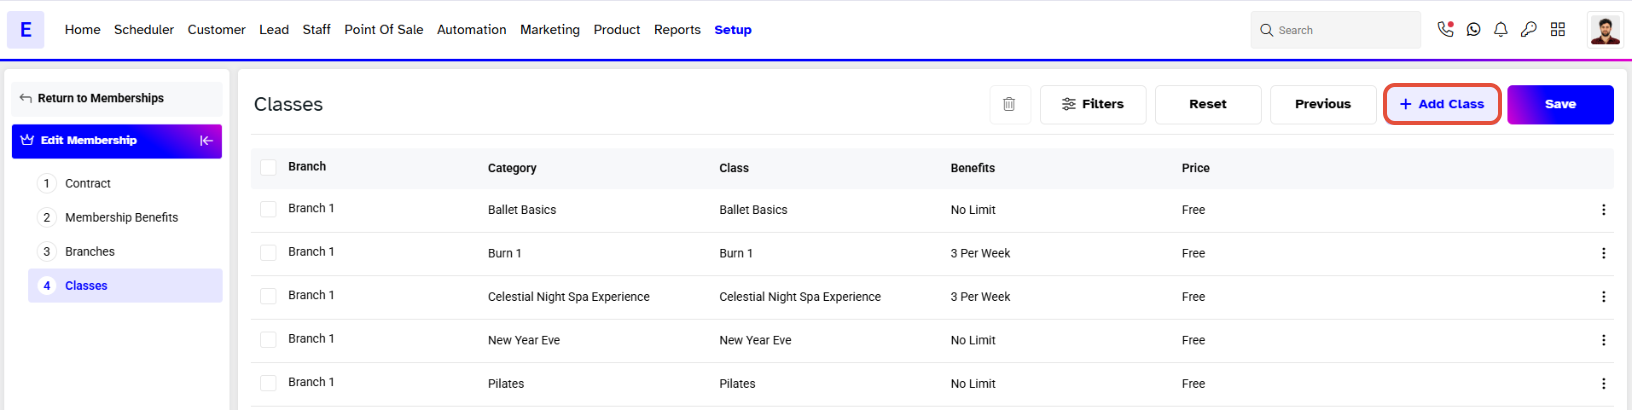
- Click the Continue button again to navigate to the Classes section.
- Click the Add Class button.

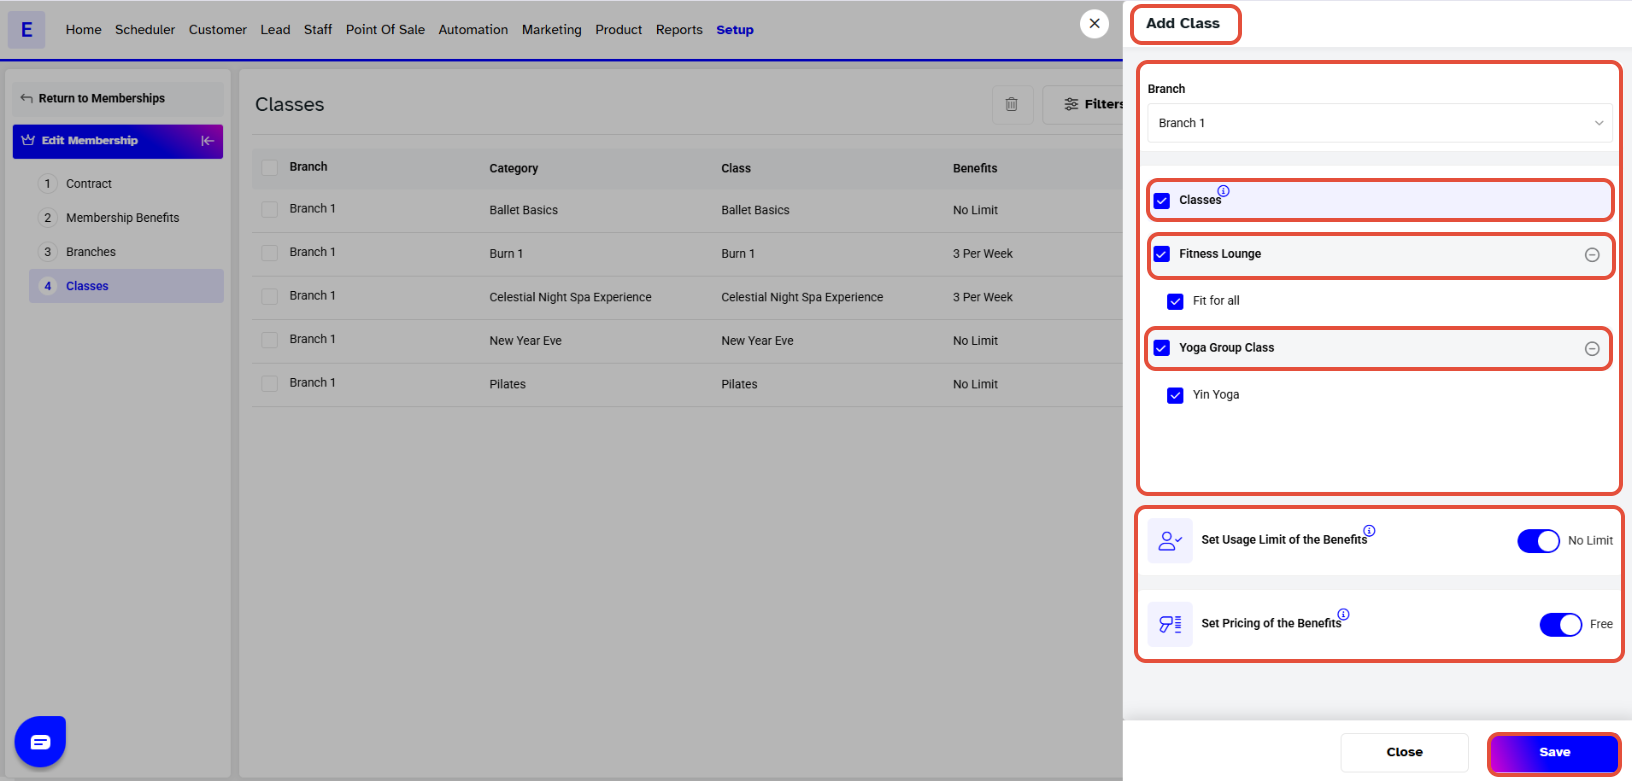
- Select at least one class from the Add Class popup box and click the Save button.
- Set the pricing and the limit of benefits a member can avail through this membership.
Step 5: Save the Membership
- Once all details are configured, click on the Save button to confirm. The classes will now be successfully associated with the membership.