

TABLE OF CONTENTS
- Step 1: Navigate to Setup
- Step 2: Configure Company Profile
- Step 3: Configure Branch Details
- Step 4: Save Changes
Overview
This guide explains how to configure Company and Branch settings in Core. It covers every step, from entering company profile information and app links to defining branch address details, opening hours, and policy documents. By following this guide, merchants can accurately maintain their business profile and branch configurations.
Step 1: Navigate to Setup
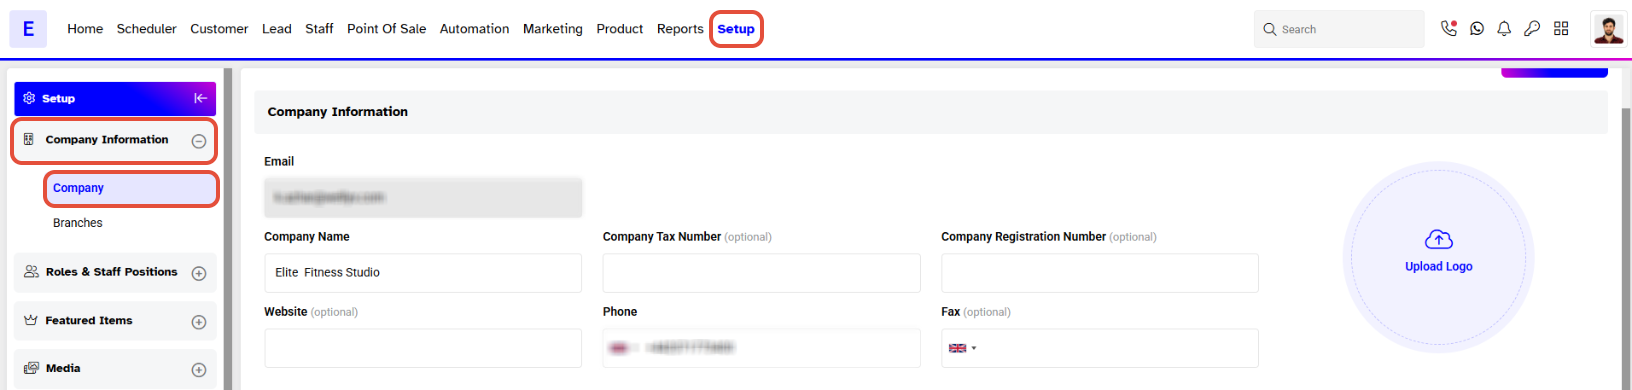
- Go to the Setup module in Core.
- By default, you will land on the Company Segment, which contains the following sections.
Step 2: Configure Company Profile
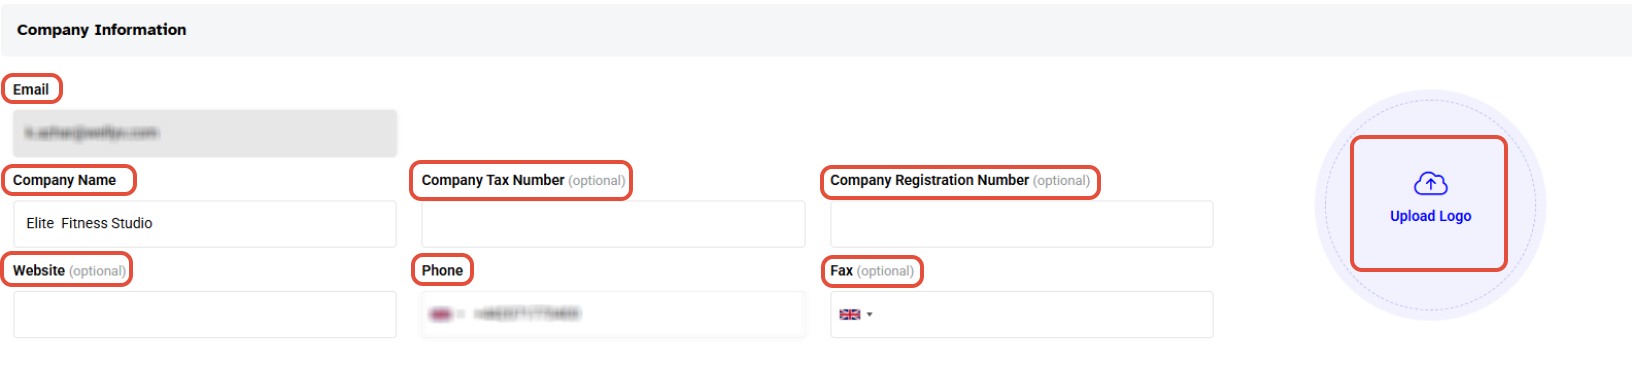
Company Information :
- Enter the Email, Company Name, Company Tax Number, Company Registration Number, Website, Phone, and Fax
- Click on the Edit Icon to open the Image Uploader. You can either Browse an image from your computer or Capture an image. The recommended image dimension is 272 x 44 pixels.
Address:
- Select your Country from the dropdown menu and enter the State/Country, Address Line 1, and Postal Code/Zip Code. Address Line 2 and City are optional fields.

Apps Links:
- Add links for your Company to the App Store and Google Play.

Step 3: Configure Branch Details
- To manage branches, click on the Branches Tab in the Setup Module.
- The tab displays the Branch Name, City, Phone, Email, Status, and Action
- Click the Edit Icon under Actions to update details:

Branch Information:
- Enter the Branch Name and Phone (Mandatory). Email, Mobile, and Fax are optional.

Branch Address
- The Country is pre-filled. Enter the State/Country, Postal Code/Zip Code, and Address Line 1. Address Line 2 and City are optional.

Time, Calendar & Currency:
- Time Zone and Currency are pre-filled. Select your preferred Time Format from the dropdown menu.

Branch Opening Hours:
- Select the Start and End timings for the branch, including individual timings for each day of the week.

Policy Documents:
- Add your Terms of Services and Privacy Policy in this section.

Step 4: Save Changes
- Once all details are added, click on the Save button towards the top right of the page to confirm.
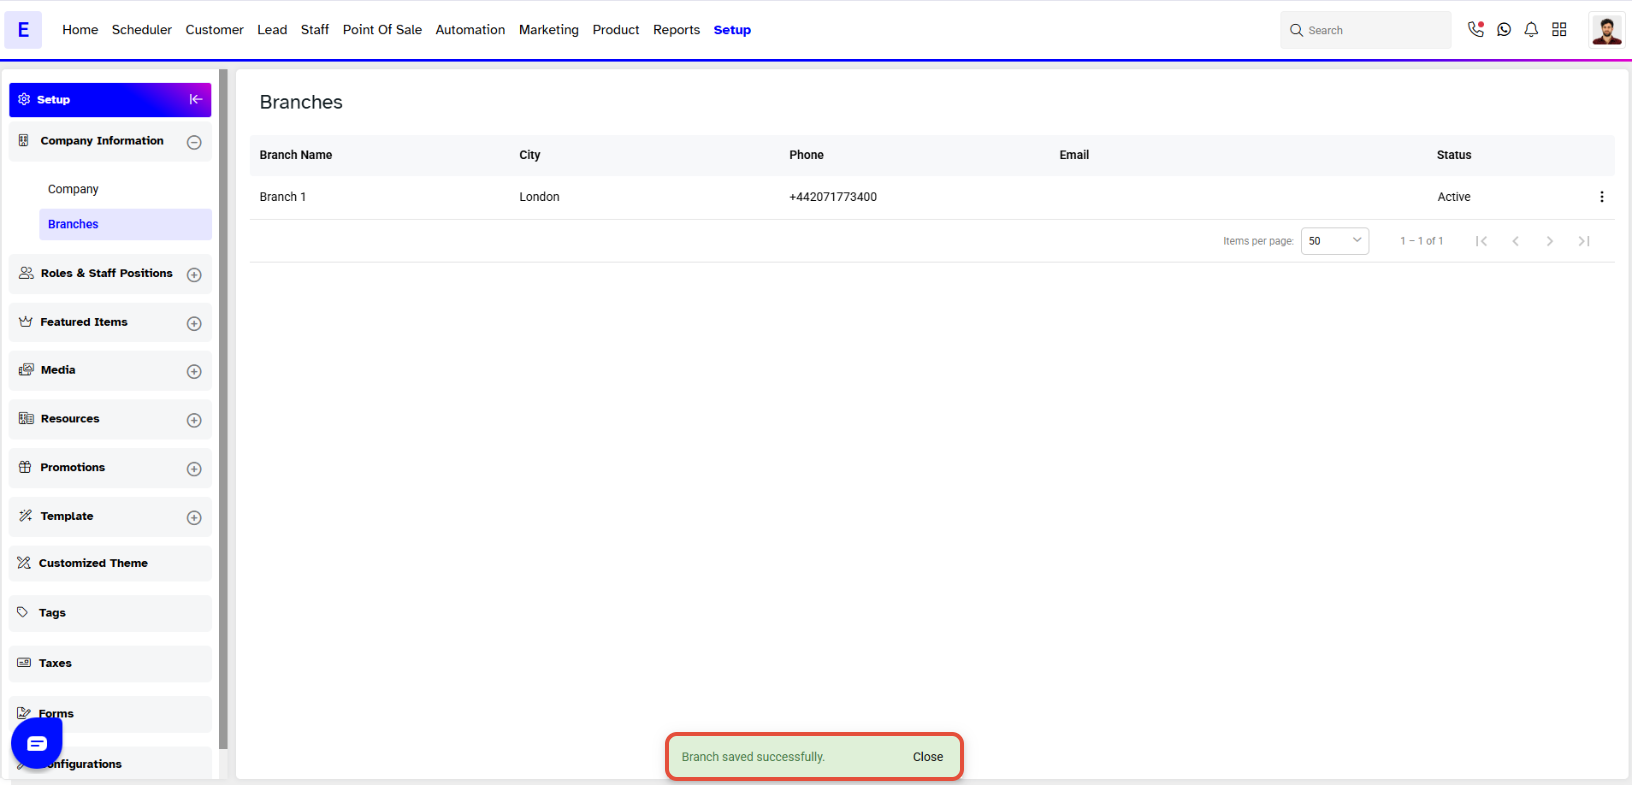
- A confirmation message will appear at the bottom right of the screen once the details are saved.