
TABLE OF CONTENTS
- Step 1: Navigate to Classes
- Step 2: Add a New Event
- Step 3: Configure Event Details
- Step 4: Save the Event
Overview
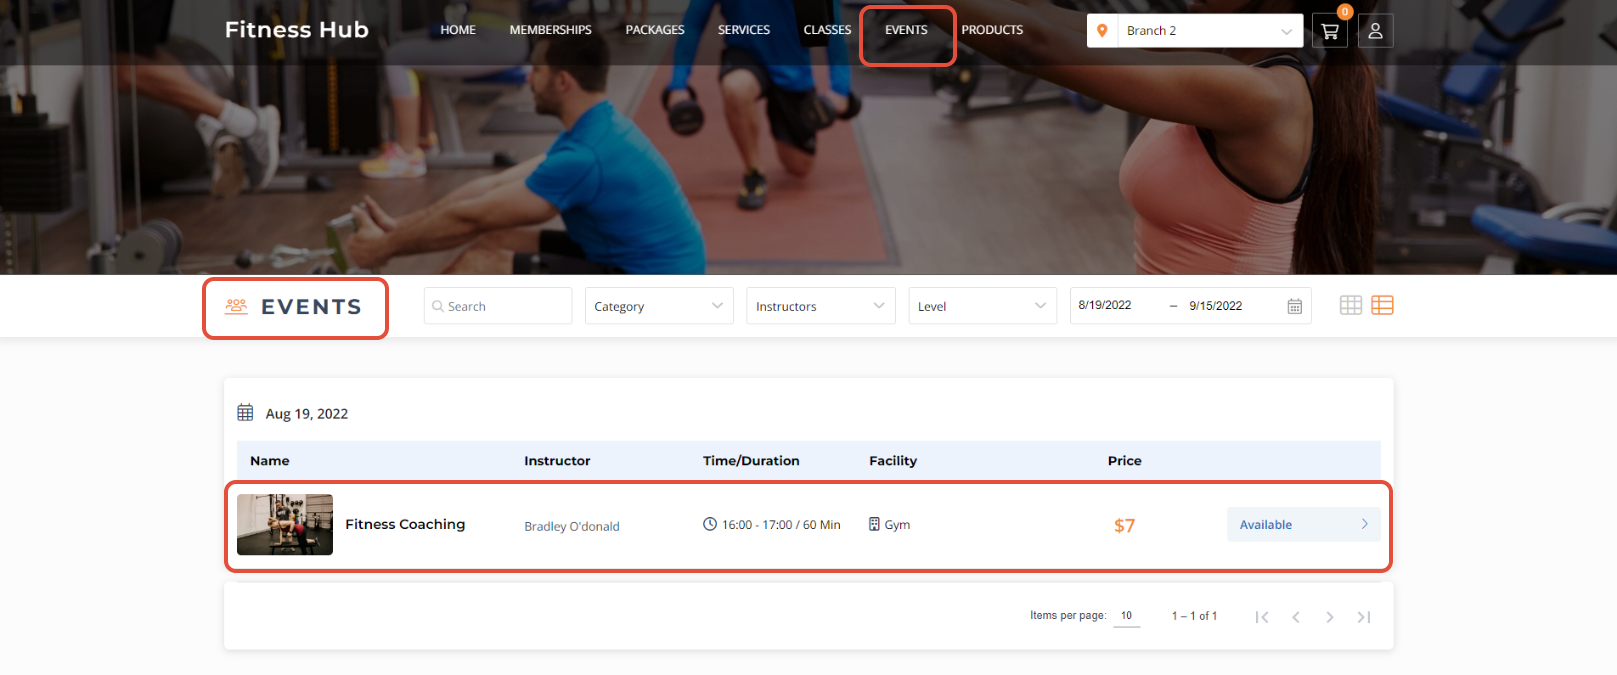
This guide explains how to create an Event in Core. By following this guide, merchants can set up events that will be visible to customers on the Widget and Customer App. Note that while an event is configured within the Class module, it is categorized as an Event for customer-facing displays.
Step 1: Navigate to Classes
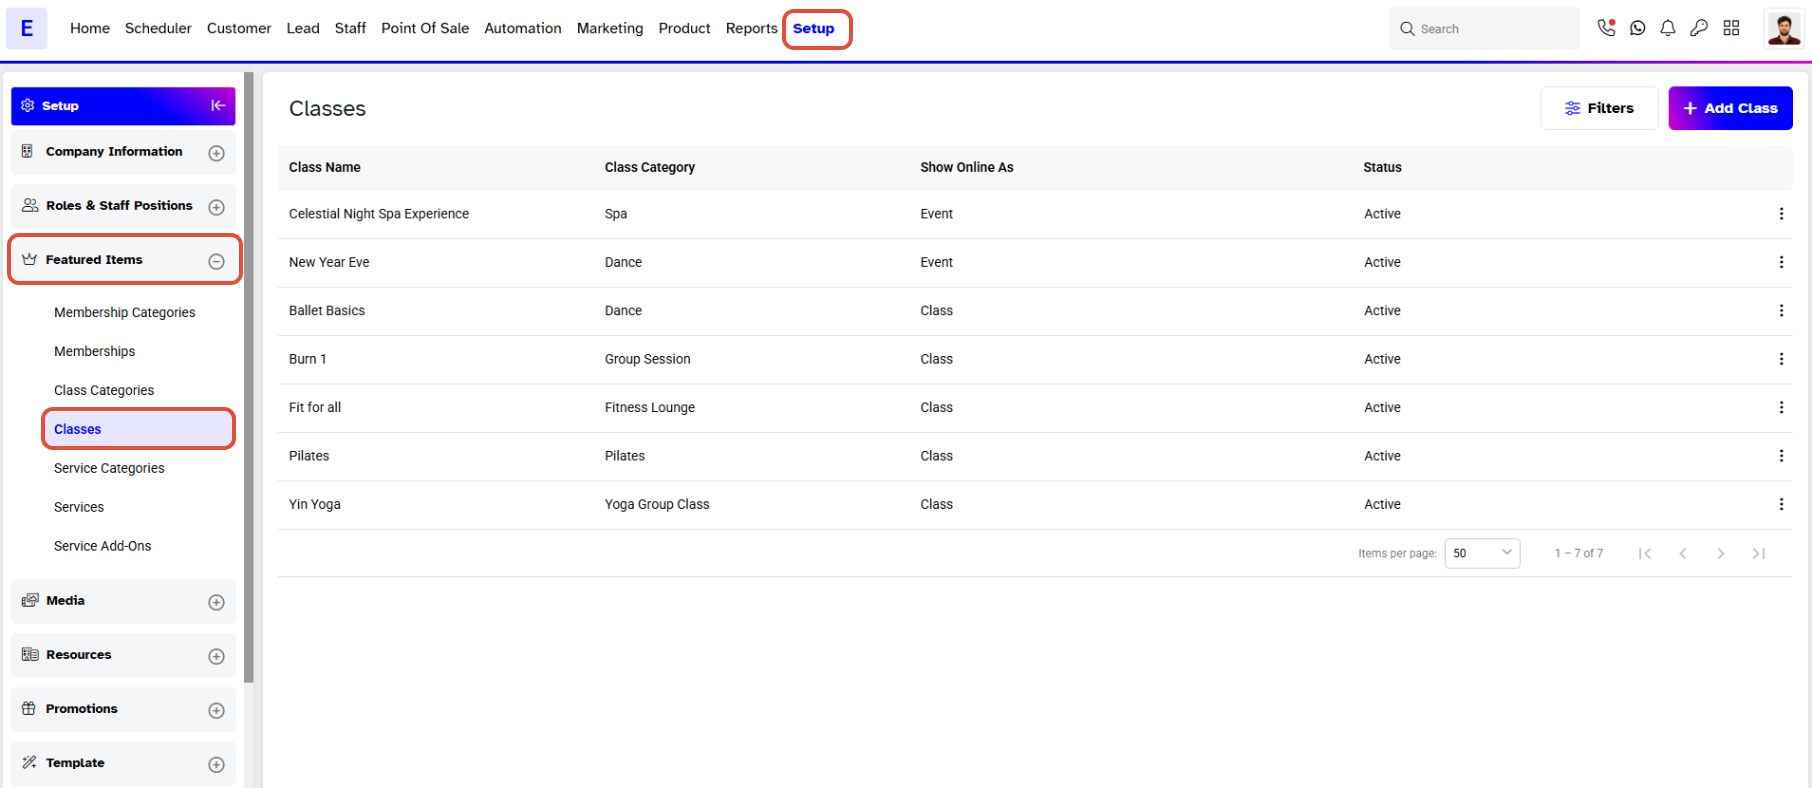
- Go to the Setup module in Core.
- Select Classes from the Featured Items.
Step 2: Add a New Event
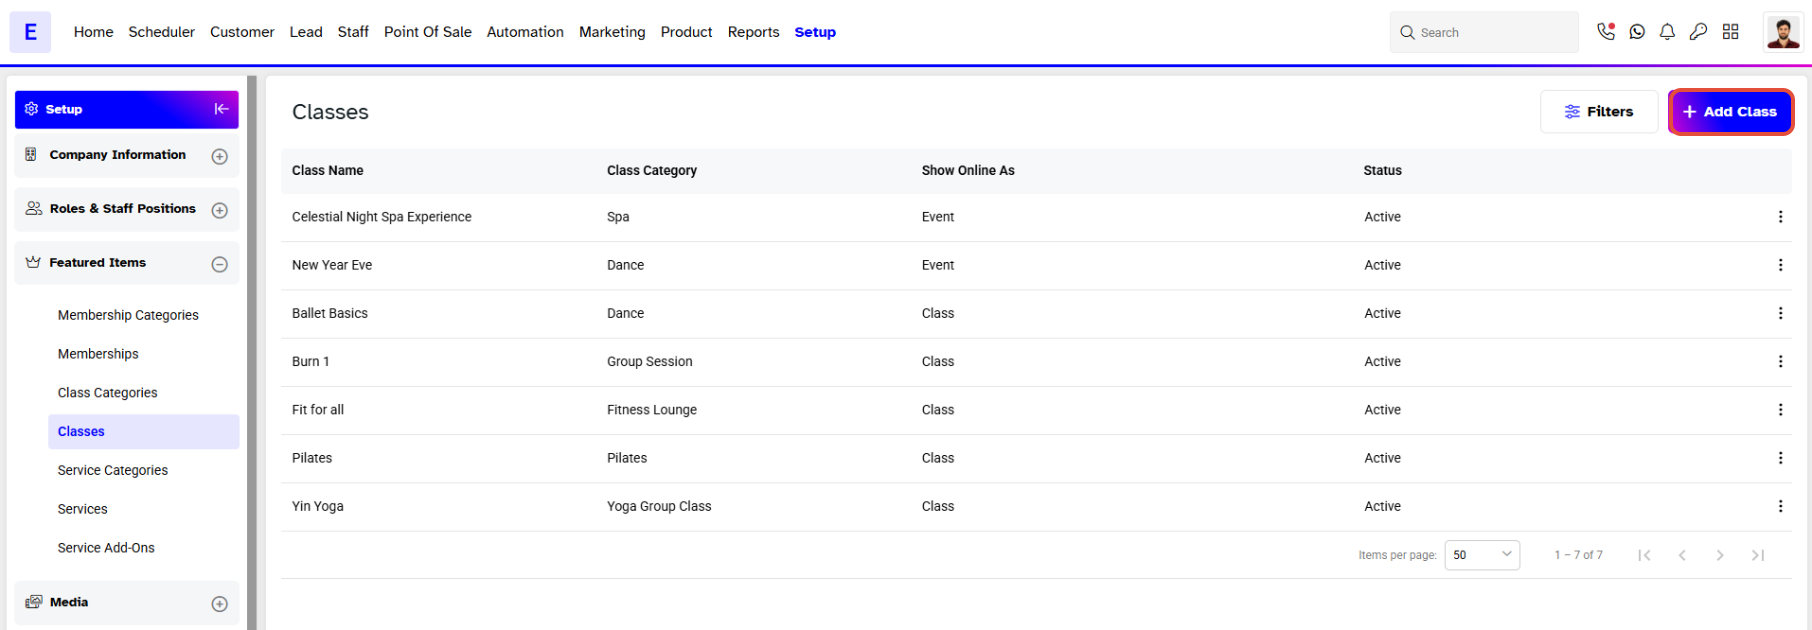
- In Classes Tab, click on the Add Class Button.
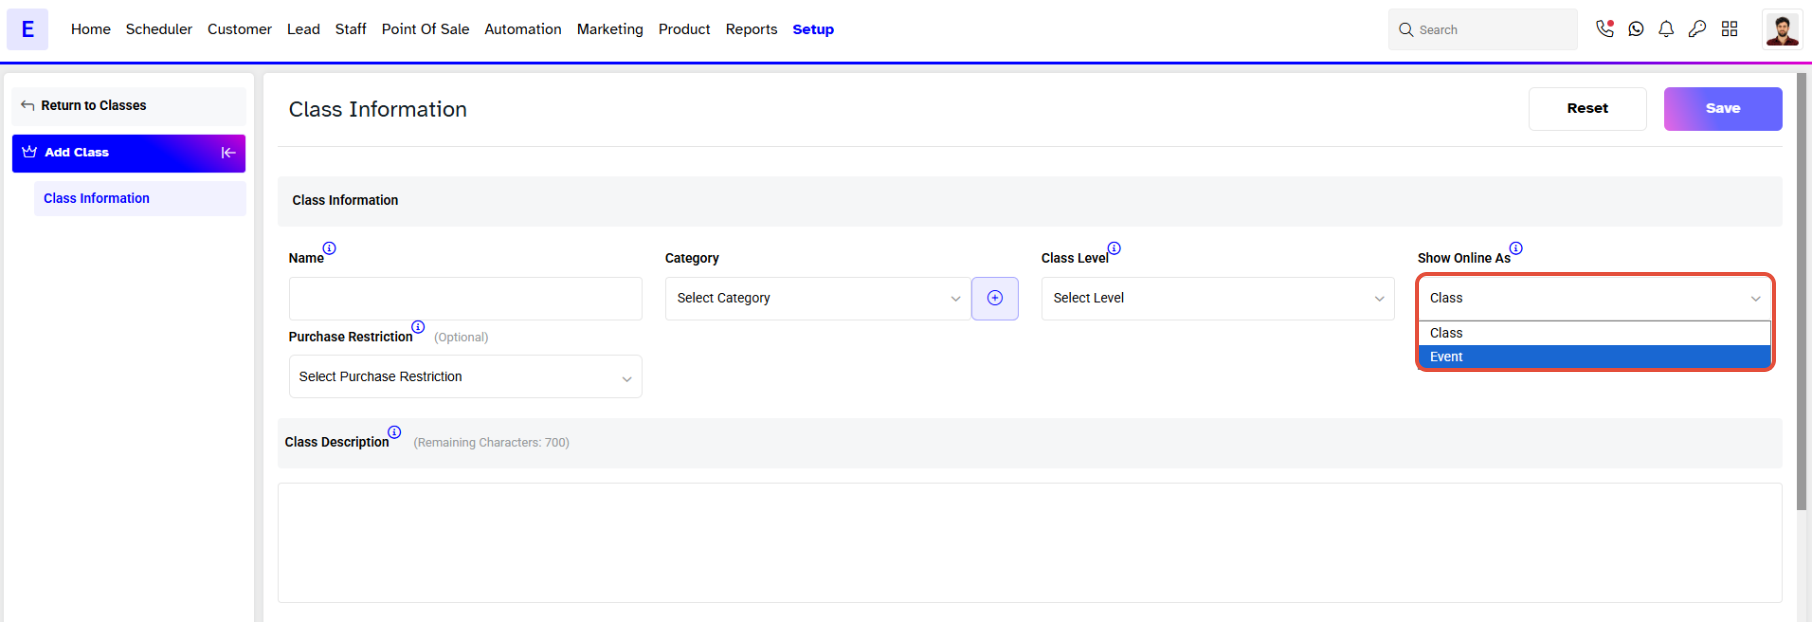
- Whilst in the Class Screen, click on the Show Online As dropdown and select Event from the list.
Step 3: Configure Event Details
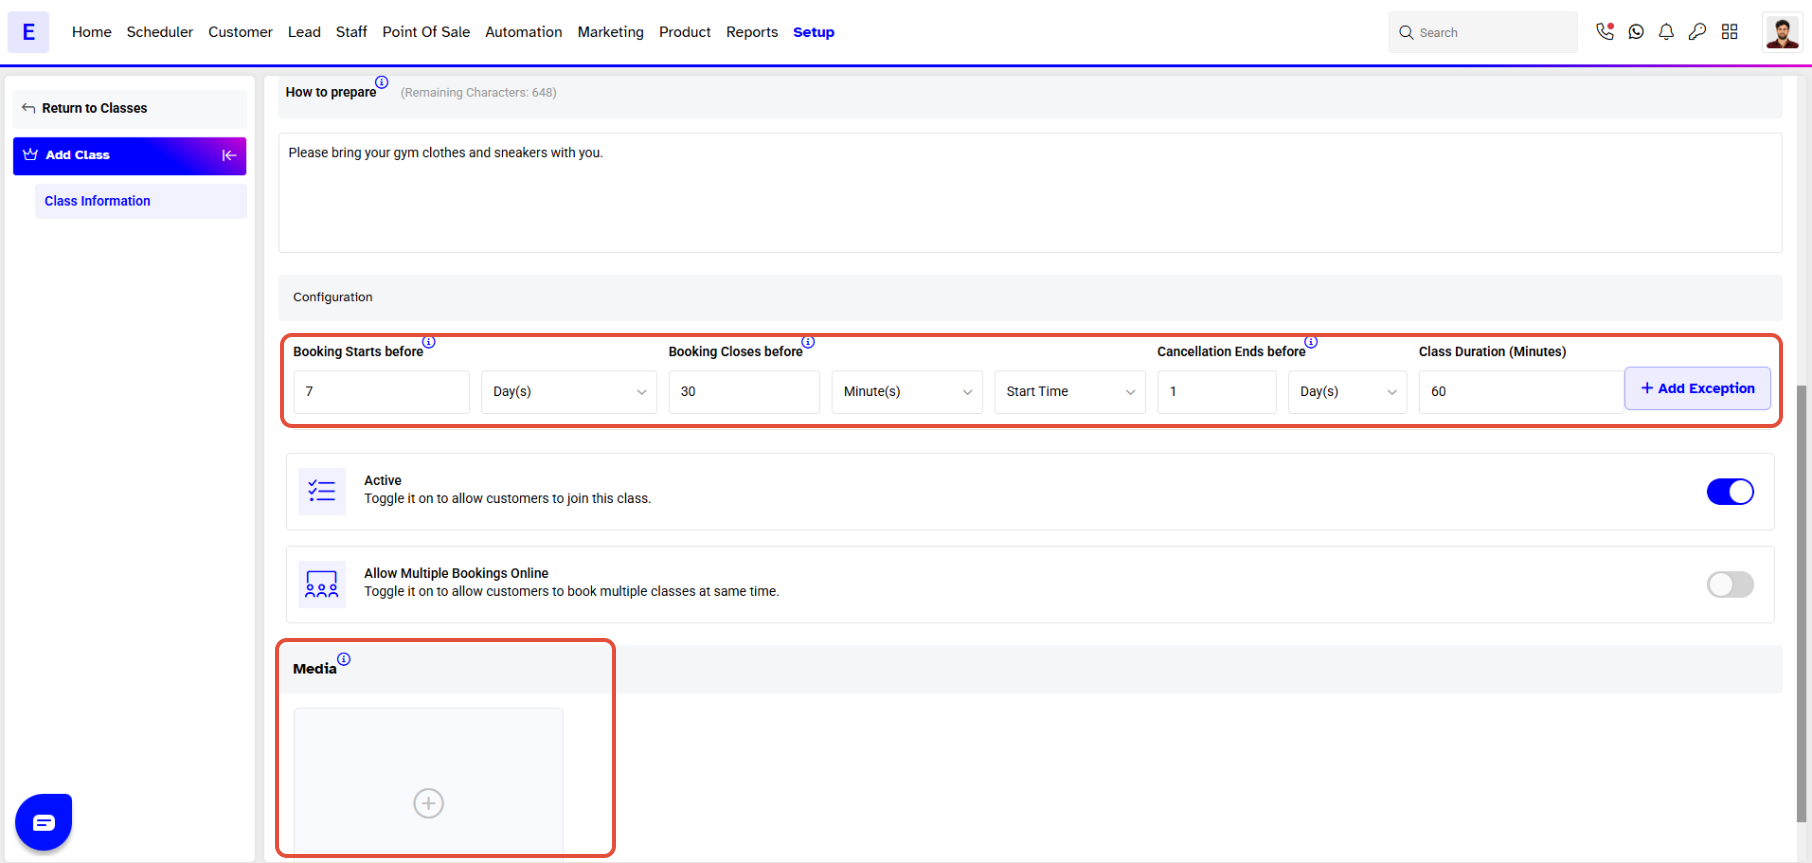
Enter the remaining information for the event, including:
- Class Name
- Class Category
- Image
- Description
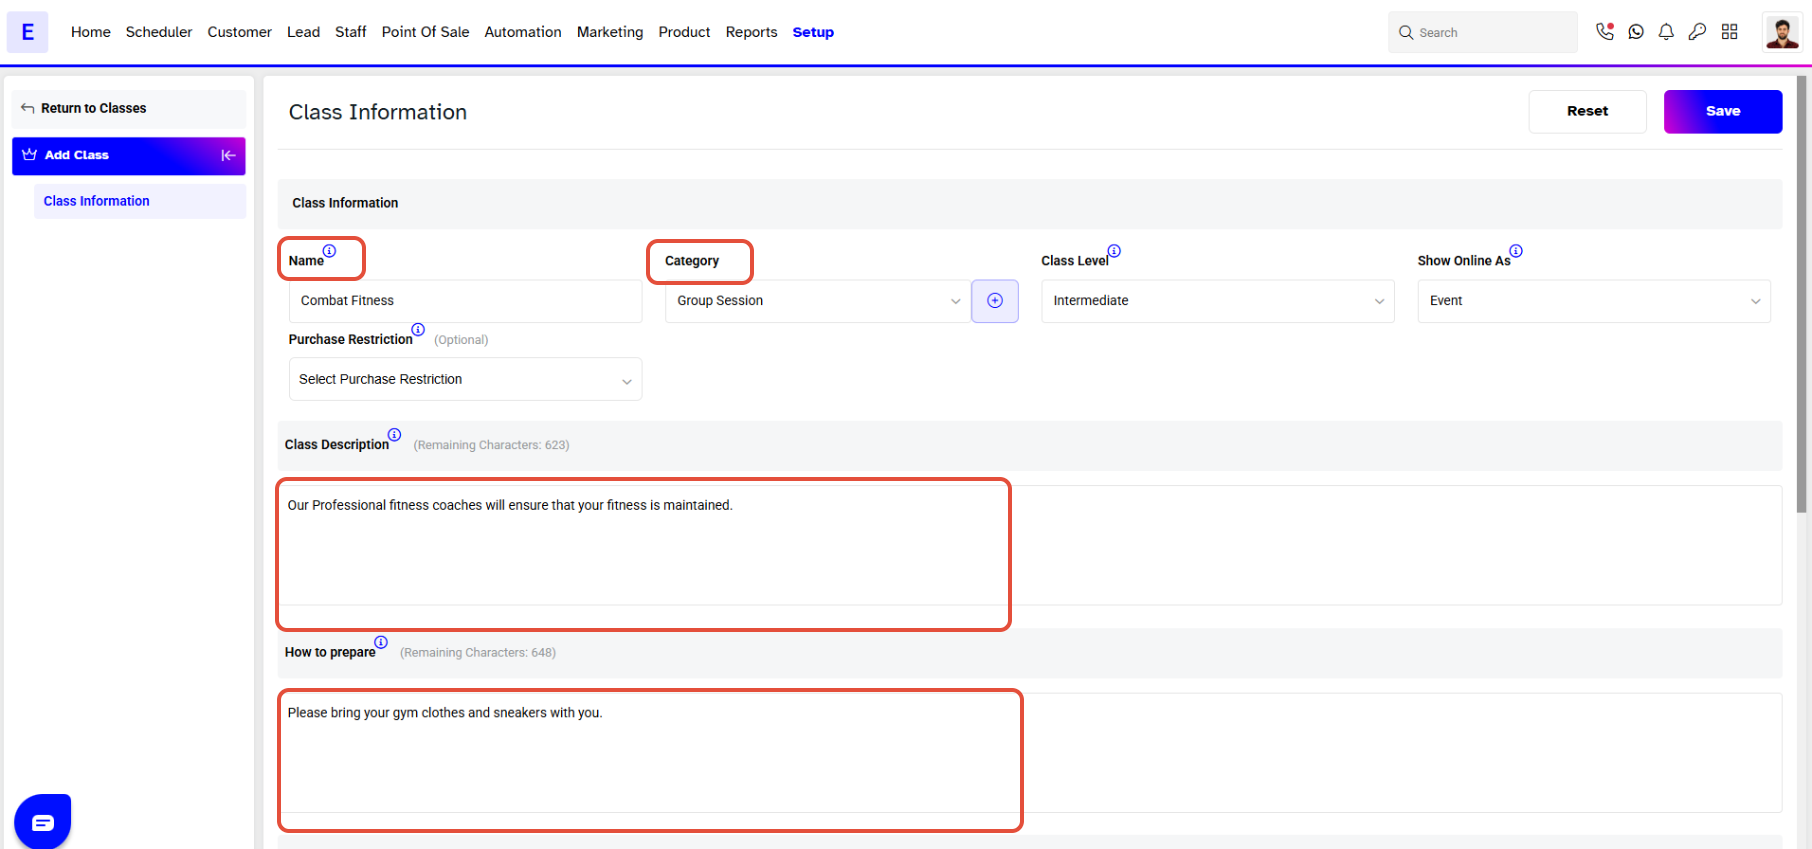
Now and other relative information for the Event.
Step 4: Save the Event
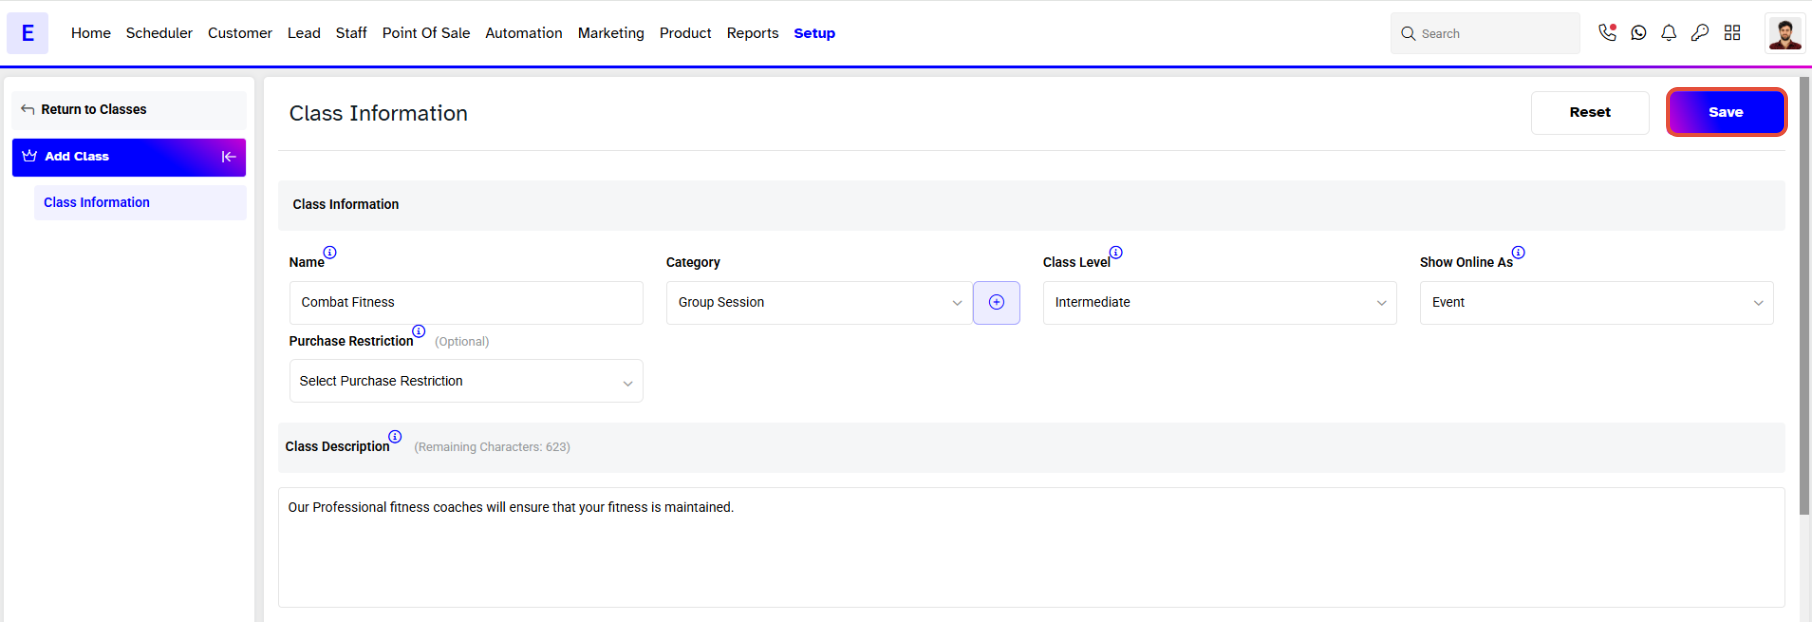
- Once done with adding information, click on the Save Button to confirm the Event.
- The Event will be added to the log.
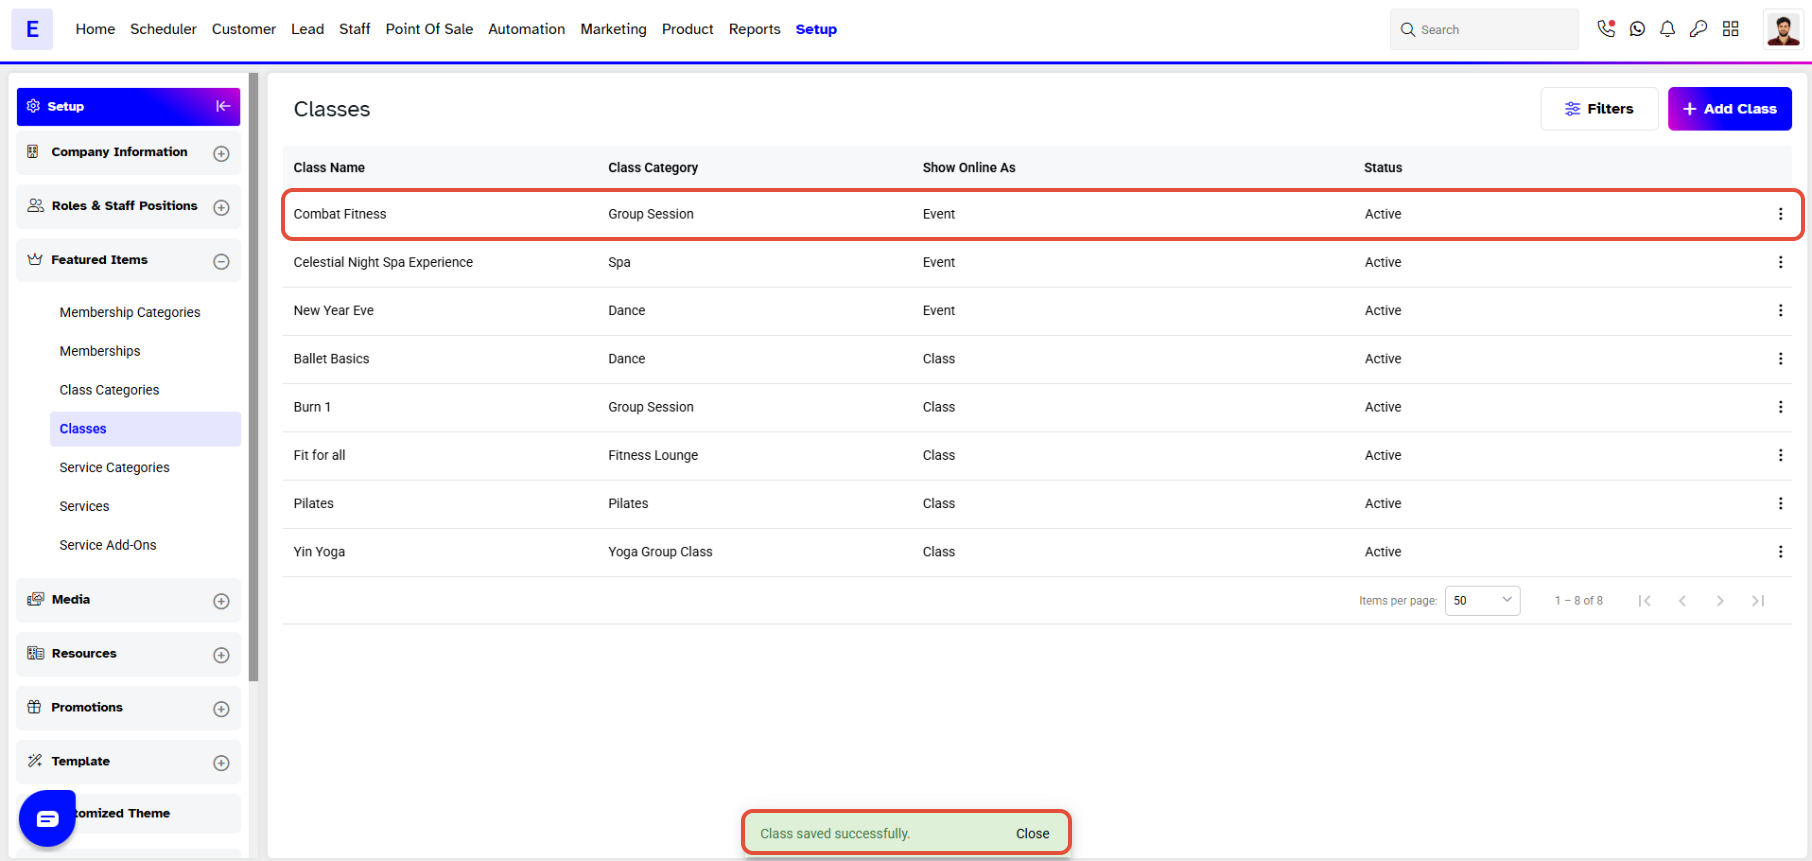
An Event created is shown as a Class in Core. However, it will be visible as an Event on the Widget and Customer App.