
TABLE OF CONTENTS
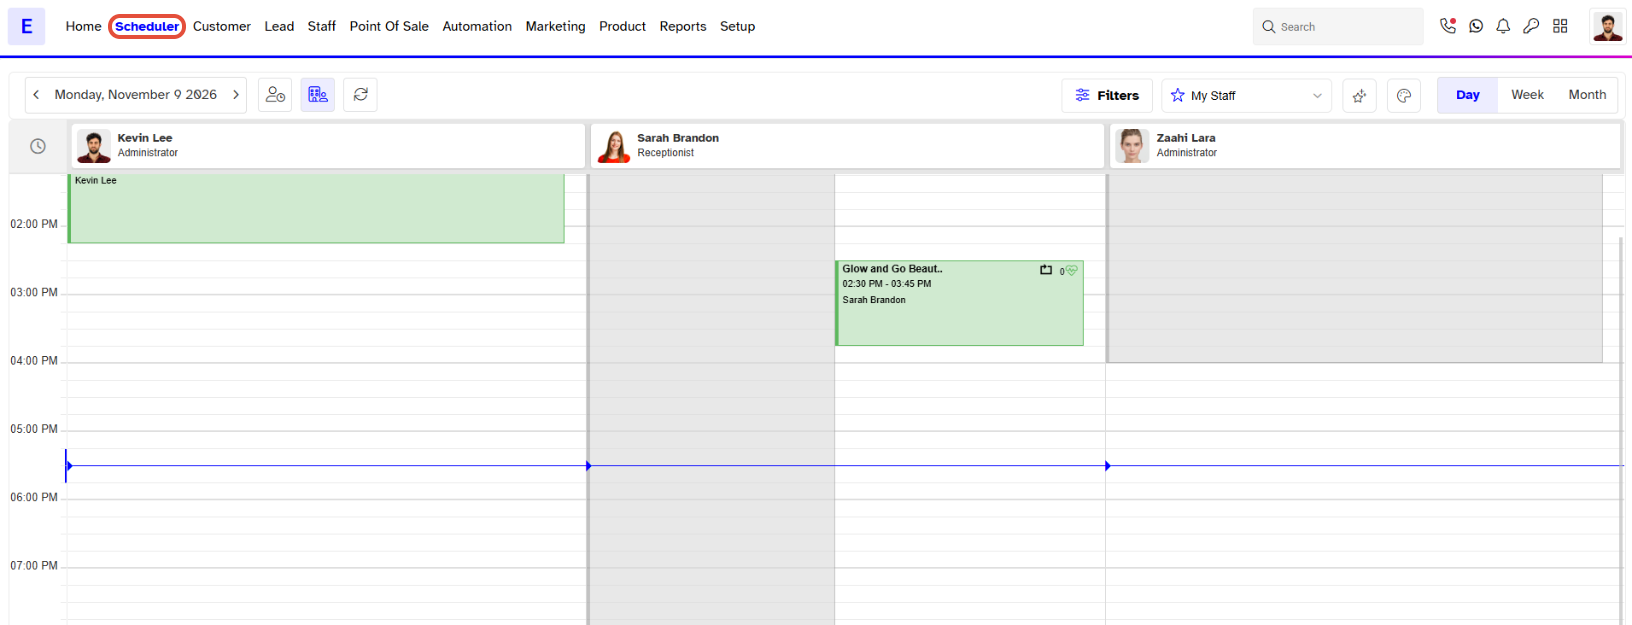
- Step 1: Navigate to the Scheduler
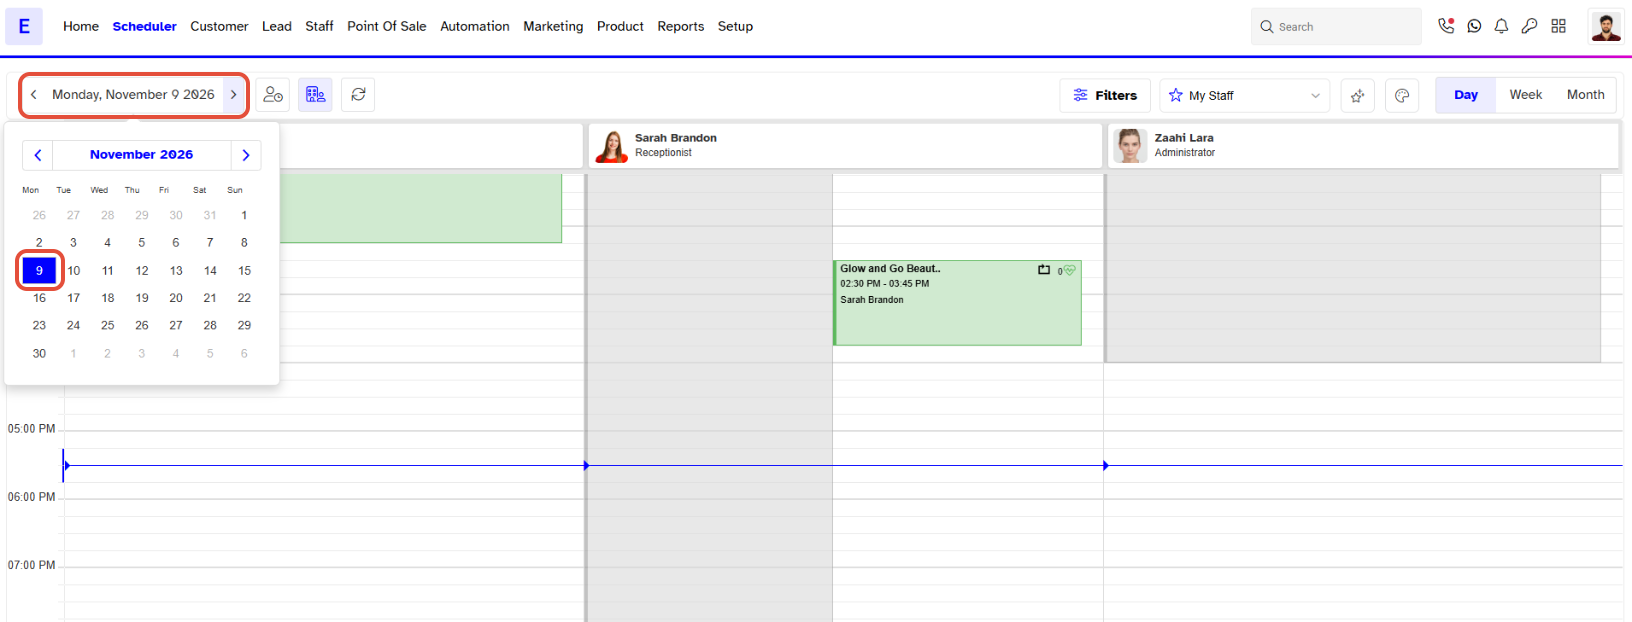
- Step 2: Select a Date
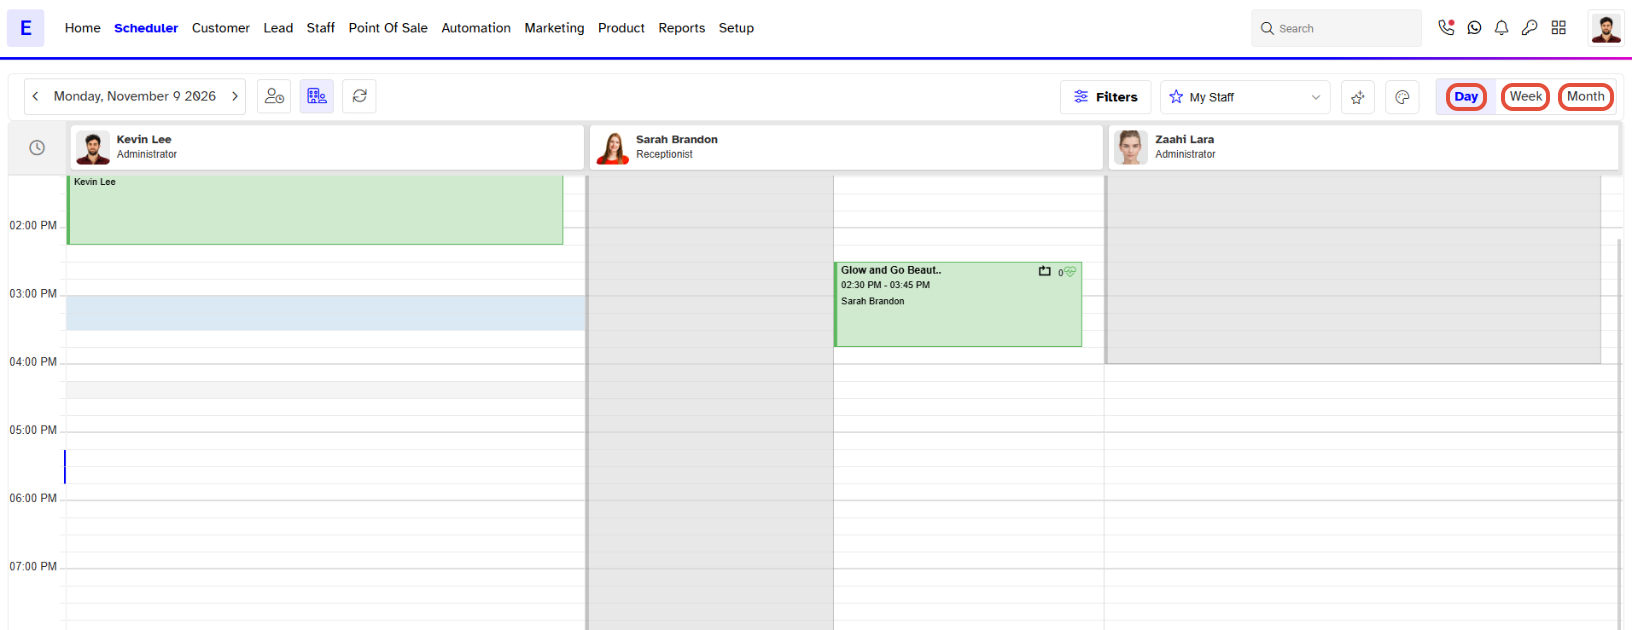
- Step 3: Choose a View Pattern
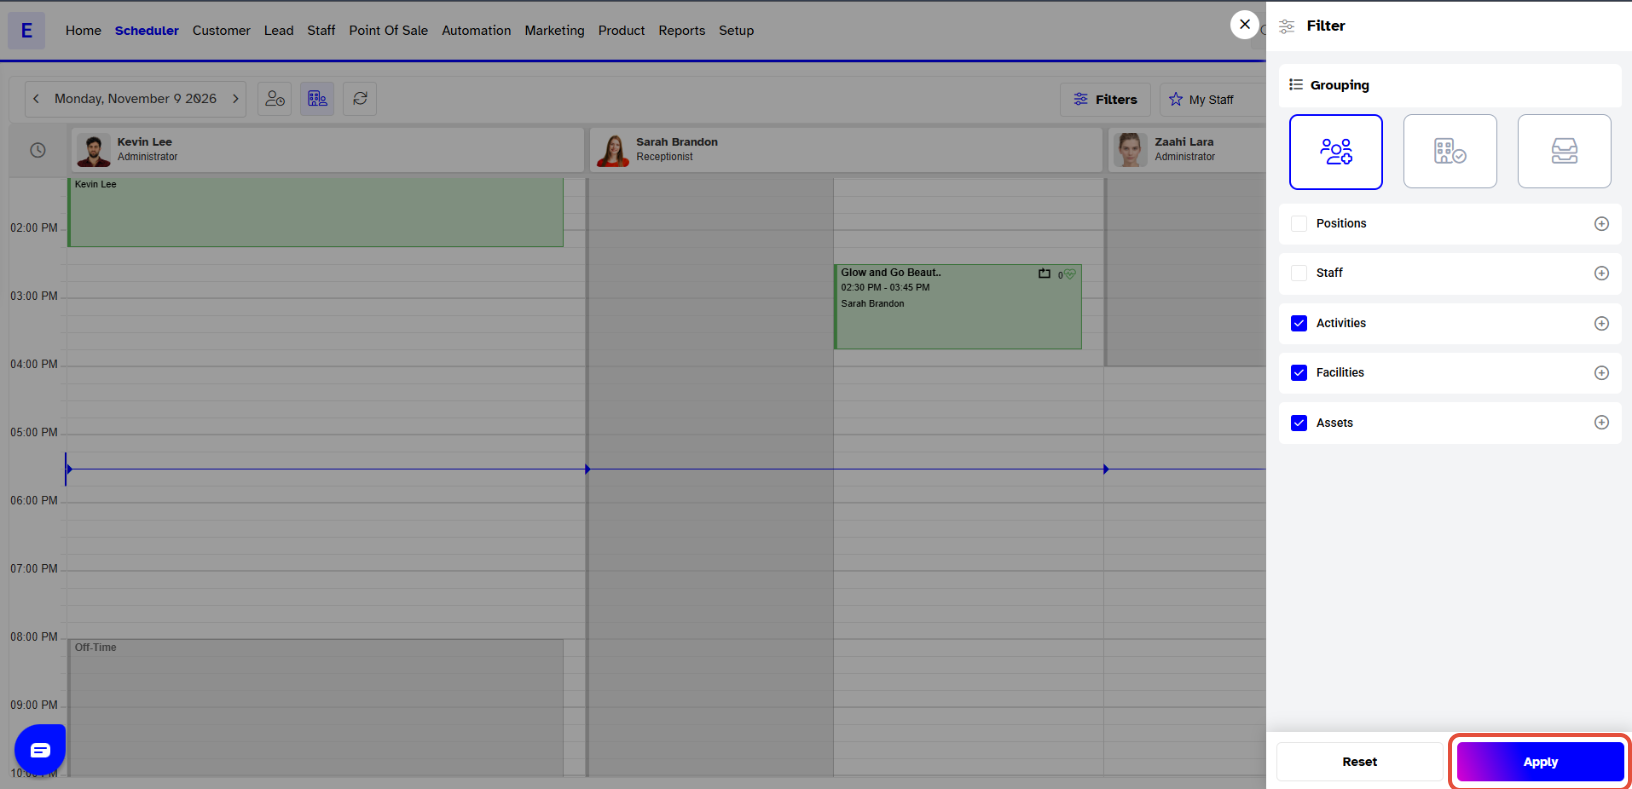
- Step 4: Apply Filters
- Step 5: View Your Schedule
Overview
The scheduler is the hub of your business, where all your classes and services are scheduled. For a list of terms used in the Wellyx application and across the support website, please consult our Glossary. This guide explains how to coordinate your business timetable using the day, week, and month views.
Step 1: Navigate to the Scheduler
- Go to the Scheduler Module in Core.
Step 2: Select a Date
- Set the required Date at the top of the screen.
Step 3: Choose a View Pattern
- Click on the Day, Week, or Month tab located at the top right corner to select your preferred view pattern.
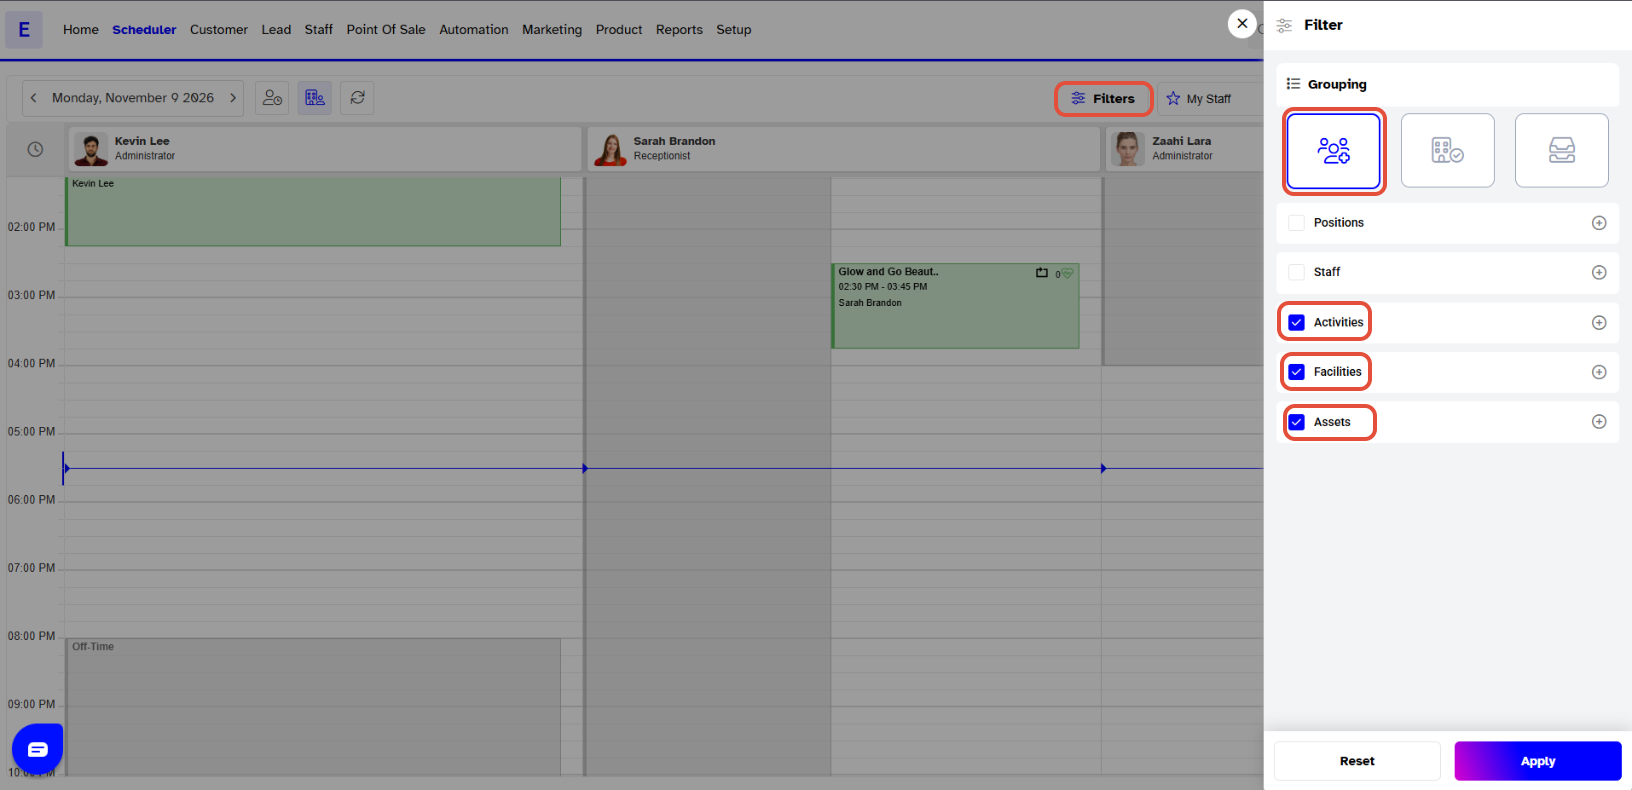
Step 4: Apply Filters
- If you want a filtered view of certain staff, groups, or positions, use the filters provided on the left side of the screen.
Step 5: View Your Schedule
- Once the date and view are selected, your classes and services will be displayed accordingly.